Santa and helper accordian card
This has been such a fun project for me and one that I’ve been longing to do ever since Tim Holtz released these products and I’m so excited to be sharing it with you.
I used two pages of 8.5 x 11 white heavy card stock scored and folded in half for the card base.
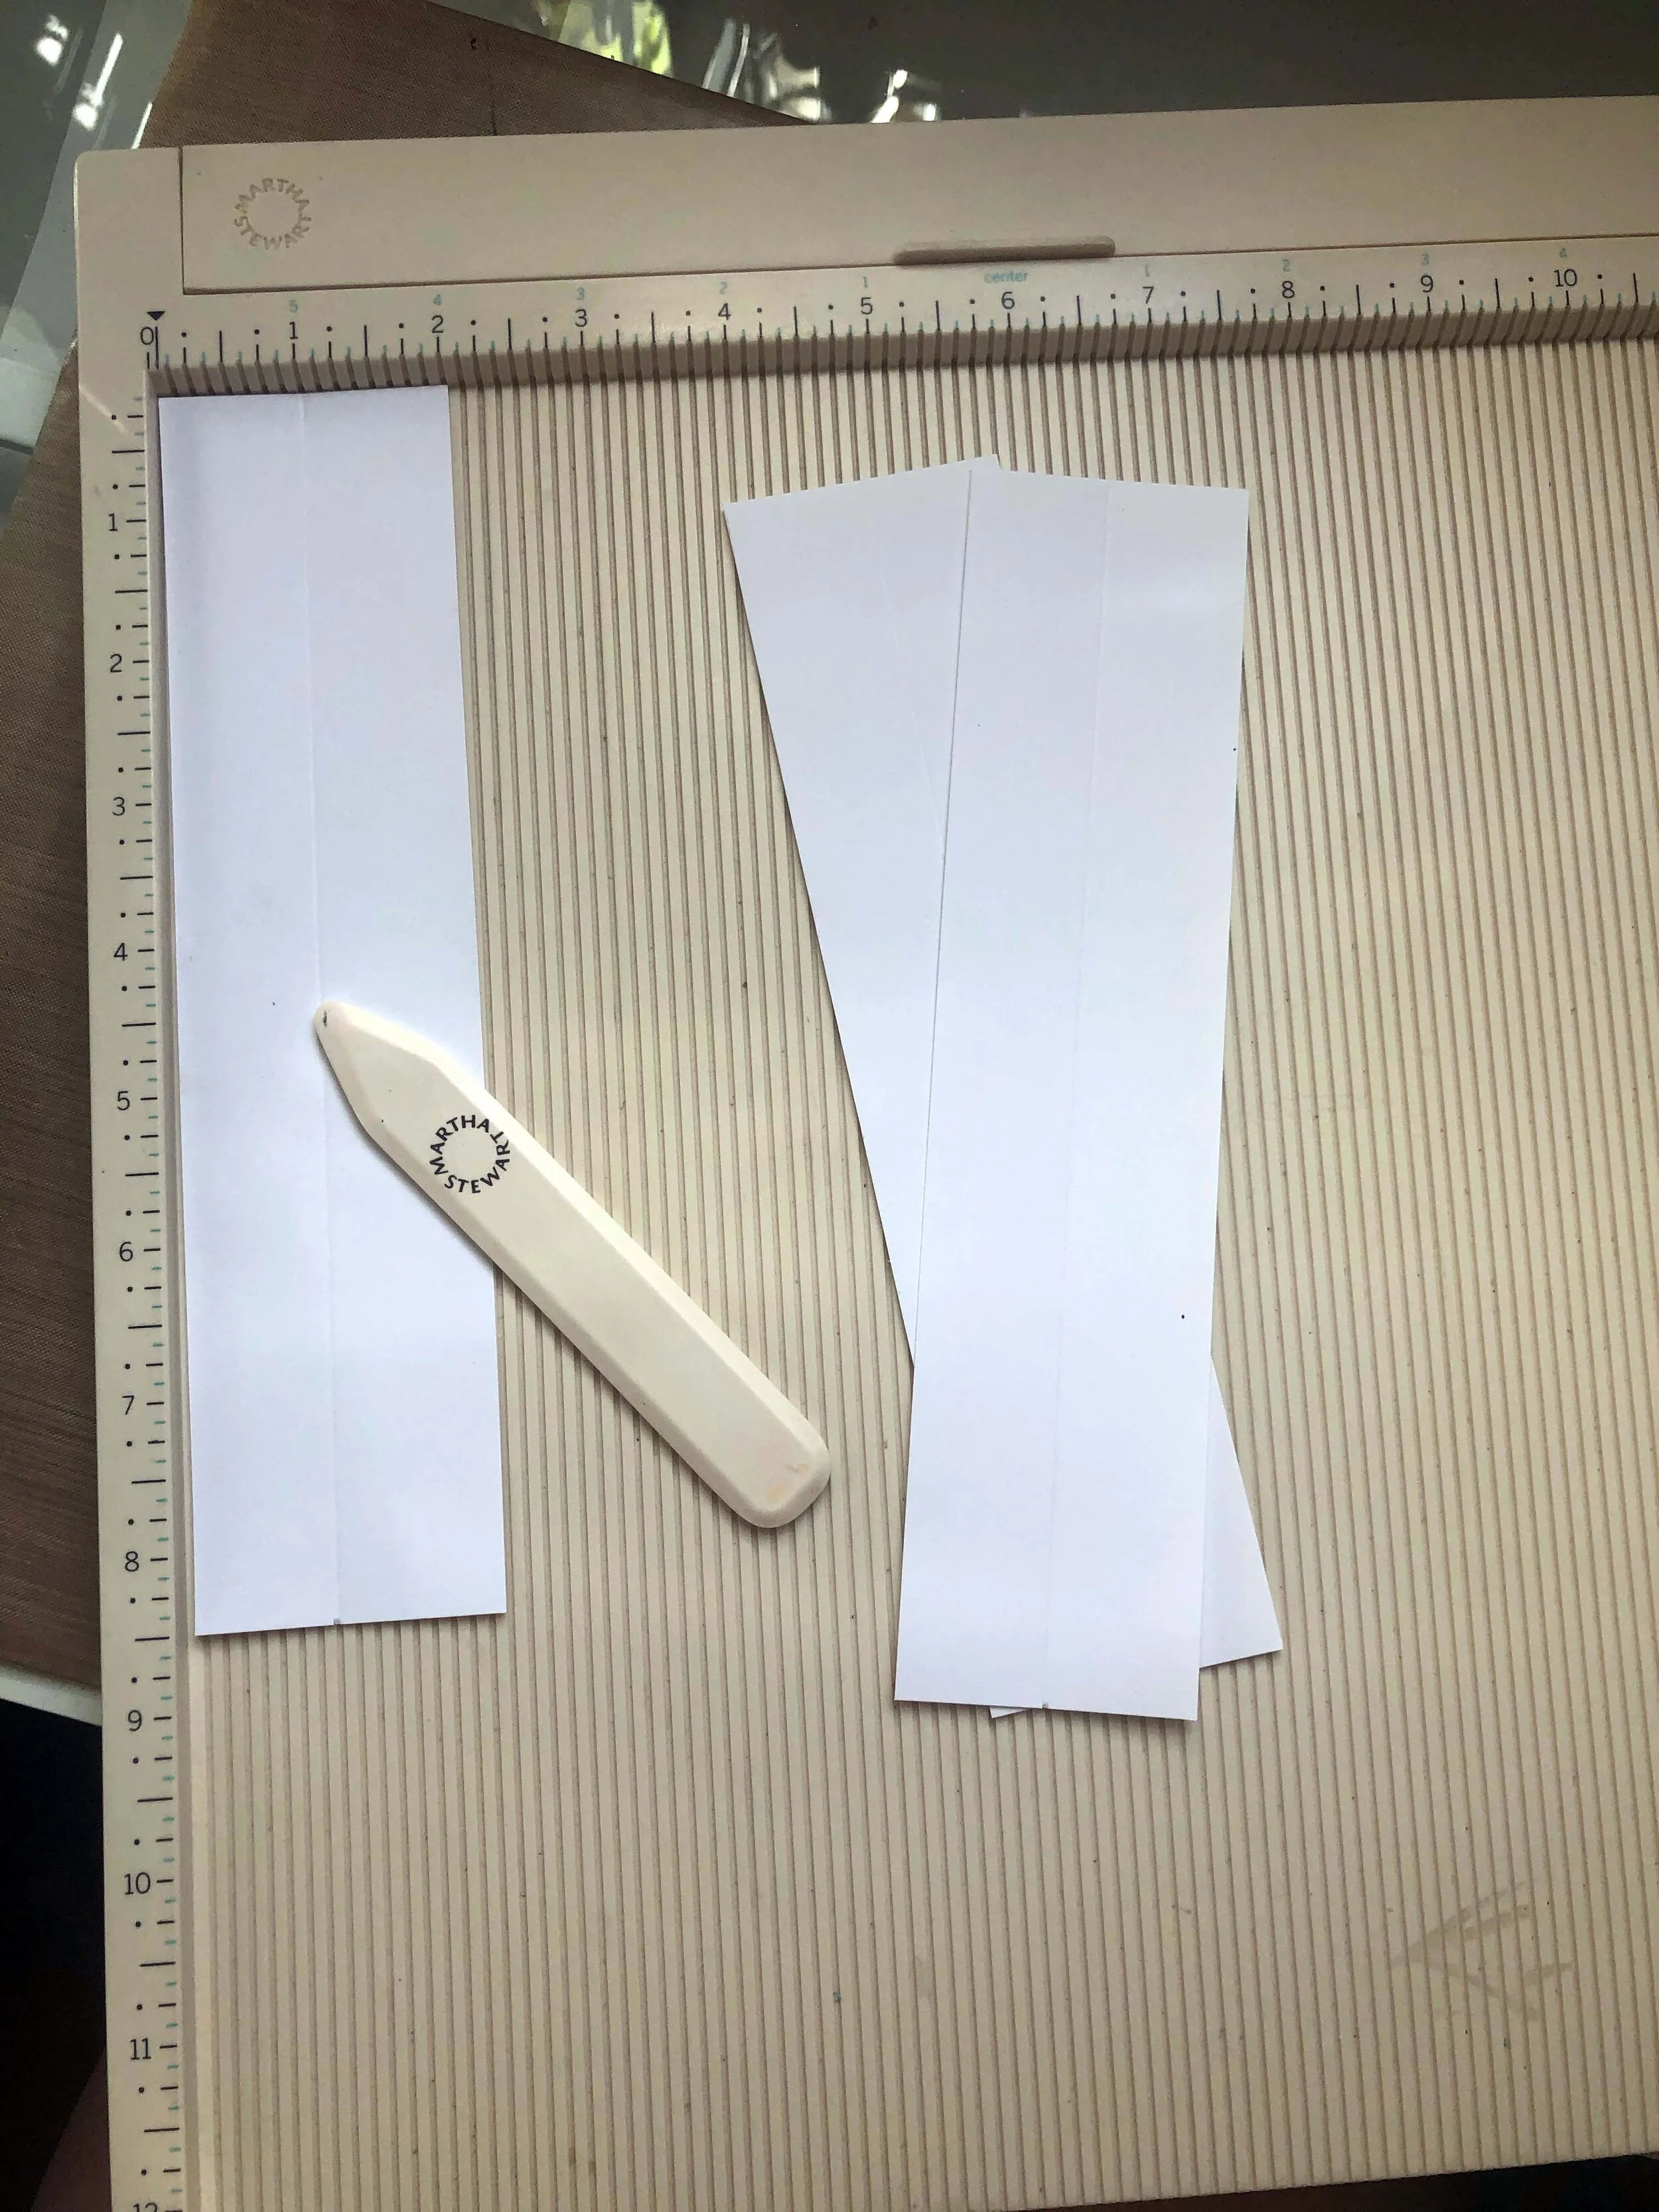
I cut another strip of cardstock 2” x 8.5", scored in half and glued the two main pages together.
Here are the details for the layers on each panel:
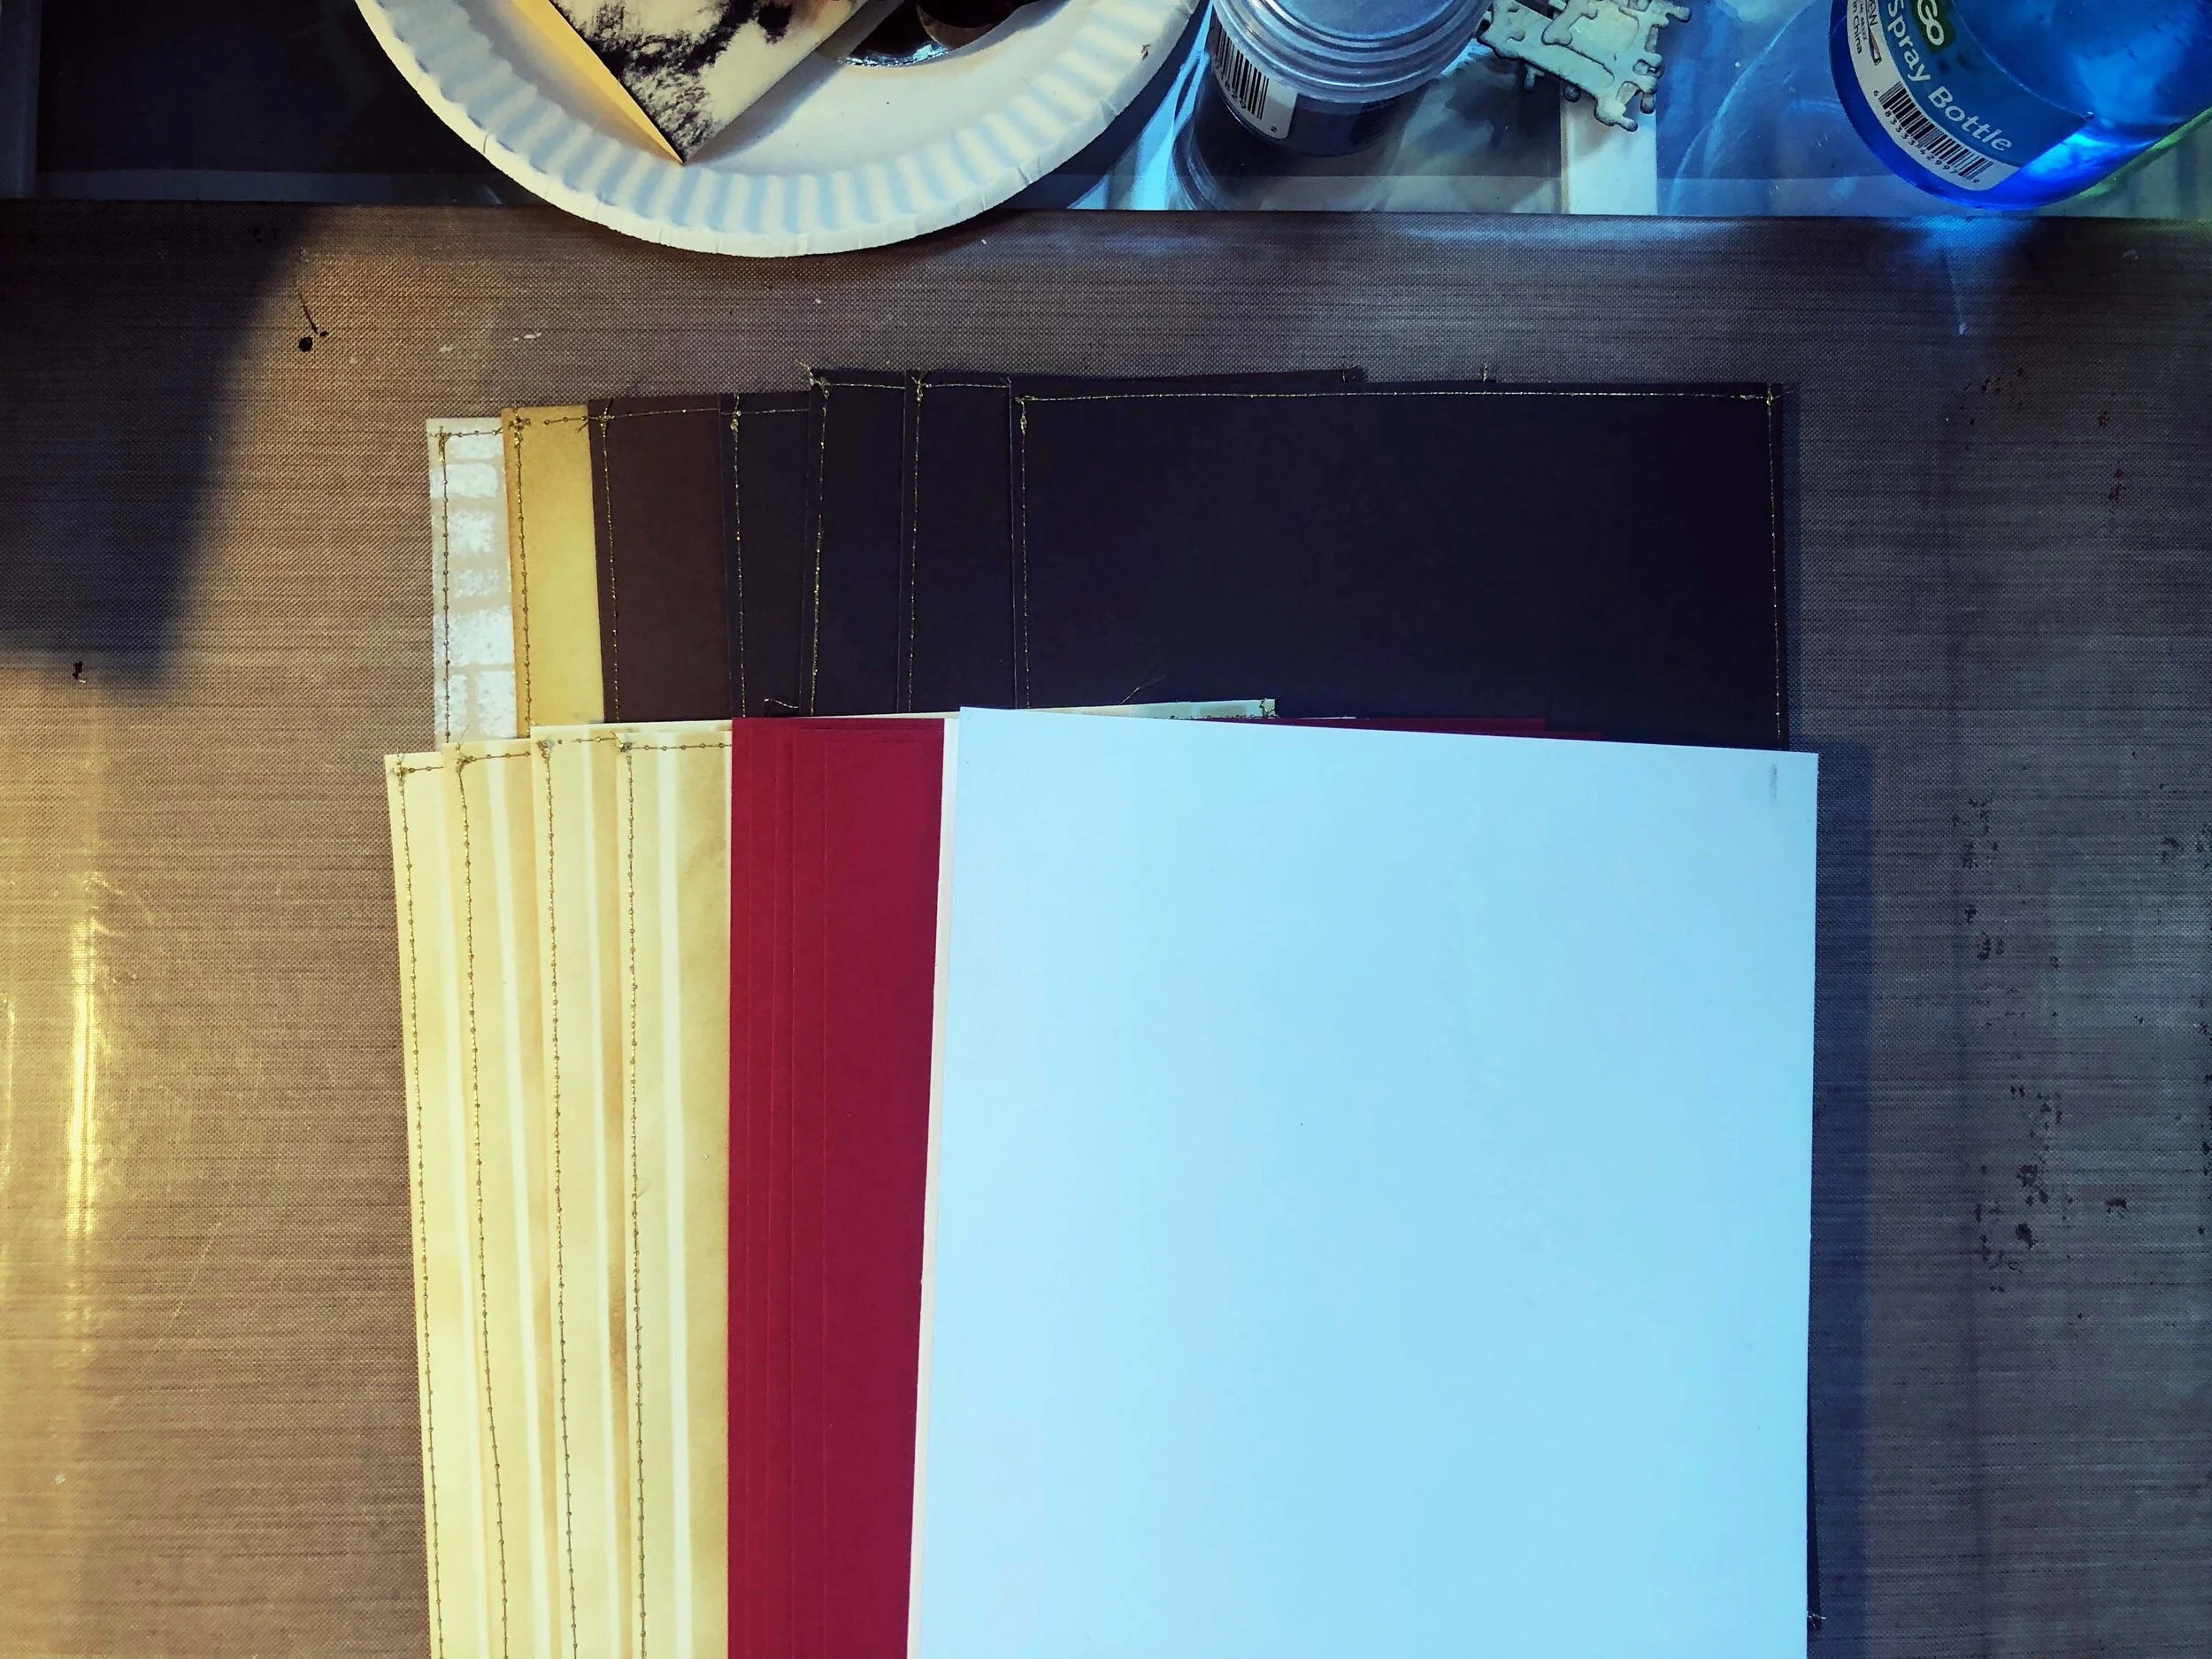
Red - I cut five pieces 8.25” x 5.25”. This is the bottom layer and goes on the front panel and all the inside layers.
Brown - I cut five pieces 8” x 5” and sewed around the edges with gold thread. This goes on top of the red layer and is on the front panel and all of the inside panels.
Cream - This layer is on all the inside panels and the front and back so I cut six of these 7.75” x 4.75”.
For the inside panels I used four pieces of the cream paper and inked Tim Holtz distress ink in Antique Linen and Brushed Corduroy with his stripe shifter stencil to make the wallpaper. I didn’t have to worry about going all the way to the bottom of the page since I will be adding a wood floor. Then I sewed around the edges with gold thread. I forgot to get a photo of just this part but hopefully you can see it in the photos..
Back cream panel - I inked around the edges with Tim Holtz distress ink in Antique Linen and Brushed Corduroy, stamped the sentiment, and sewed around the edges with gold thread.
To make the wood floor panels, I used Tim Holtz 3D wood embossing folder and embossed a few light brown pieces of card stock. Then I used Ground Espresso distress ink and inked up the whole surface and then repeated with Aged Mahogany. After this I used Walnut Stain and Black Soot distress crayons to bring out the detail.
I just LOVE this texture!
Next I cut them into 1” strips lengthwise (along the wood grain). In order to cut out several floor planks at a time, I used a piece of 8.5x11 paper and cut the wood strips into varying lengths and glued them to the paper in rows of two each. After cutting them to approximately 4.25” long, I painted ‘nails’ into the floor with black acrylic paint using my tiny squeeze bottles and glued these down to each of the four inside panels.
I used double sided craft tape to adhere all of these layers down and now I’m ready to start building the scenes.
Once you get the backgrounds done you are ready to create all the cool colorize characters for each page. Sizzix has wonderful tutorials for assembling these dies and they are tons of fun!
Hopefully this has been informative even though I didn’t have as many photos as I intended. Please feel free to comment below and ask about anything that is confusing.
Thanks so much for stopping by!
Laurie :)
Sunflower Card
This sunflower card was so much fun to make!
August has always been a sunflower theme for me so I'm looking forward to posting some projects starting with a box card I created earlier this year.
Sunflower Box Card
For this card I used two different kits from Mary at SVGCuts.com. The box card itself is from Mary's Wildflower Saloon Kit and uses the Trunk of Wildflowers Box Card. I used everything except for the flowers with no adjustments to this pattern.
The sunflowers are from the Harvest Sunset kit. I shrank these down to approximately 30-40% of the original size. It does take a bit longer to cut all these tiny sunflowers but it created such a cool effect!
Before assembling the sunflowers I inked up the edges with red ink from ColorBox and Walnut Stain Distress Ink from Tim Holtz. Then for the centers, I used a variety of glitter following Mary's instructions on her video tutorial.
For the back of the card, I started by embossing the panels with Tim Holtz woodgrain embossing folder. Then just to give it an extra touch, I used SVGCuts French Quarter Ironwork pattern.
This is one of many variations I have used this card pattern for and while this one took a bit longer, I was so happy with the end result that I will be making a few more.
coming soon….


Making fun stripes on the gel plate!