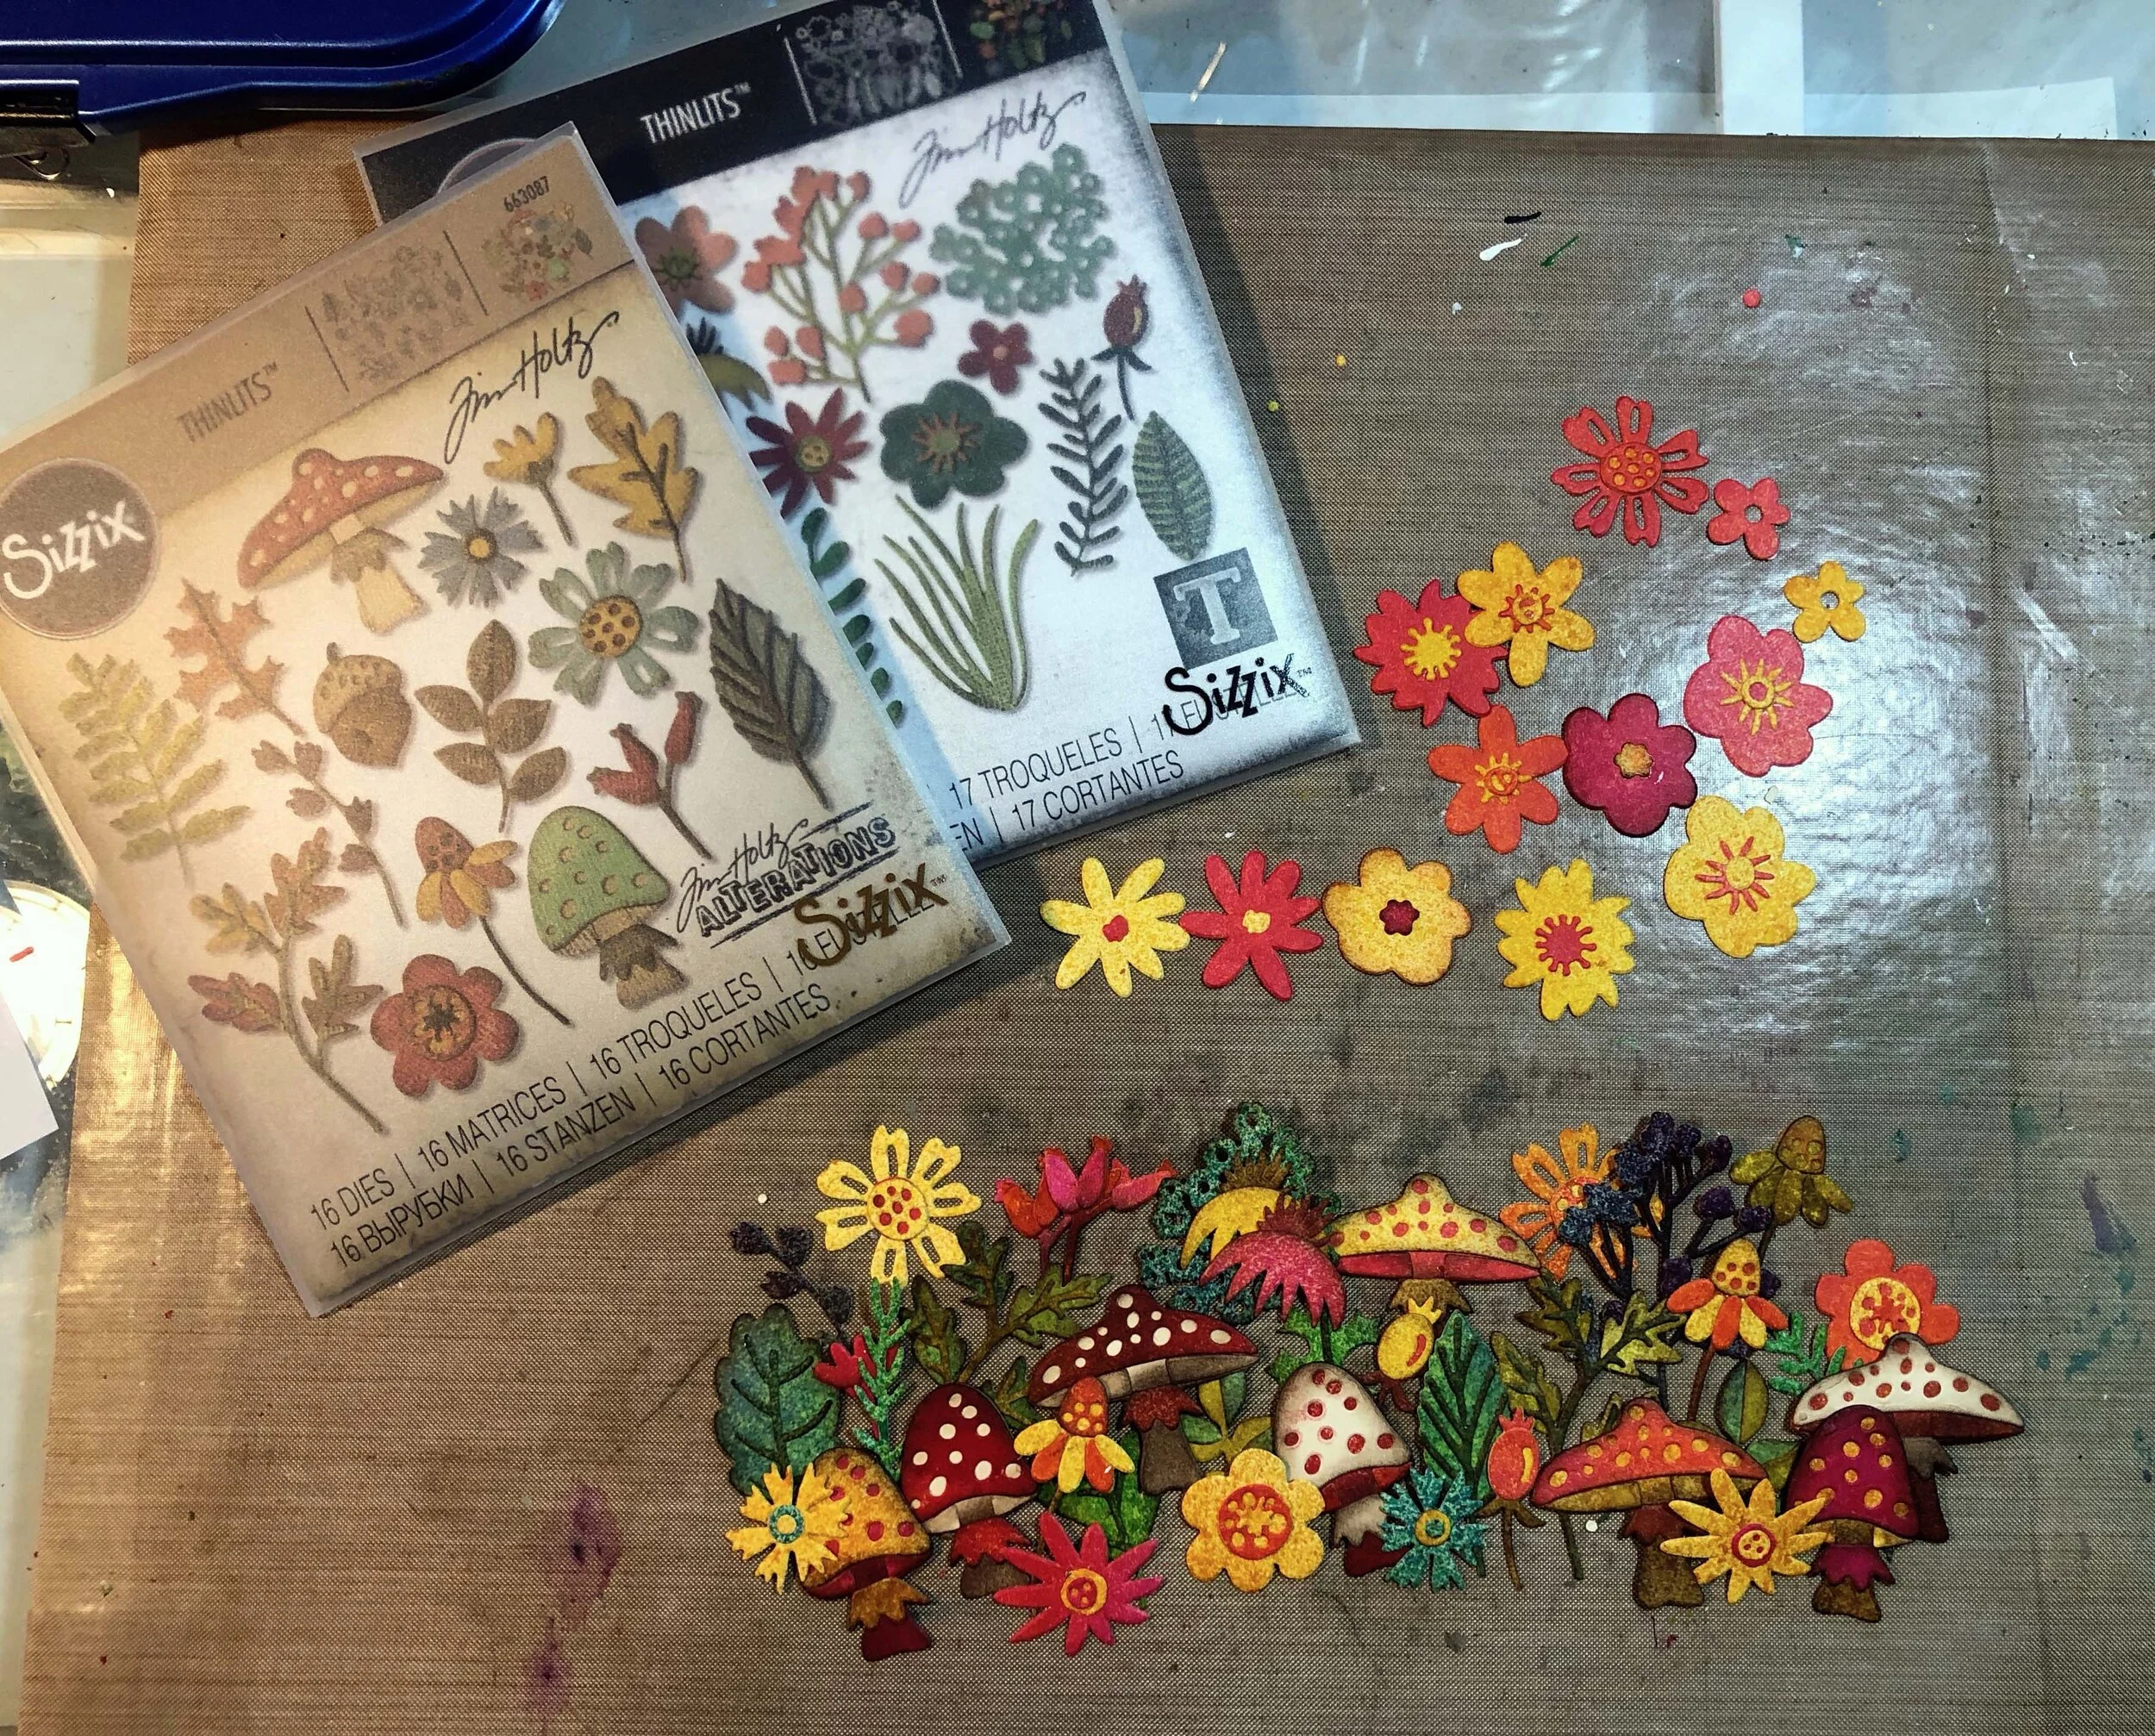
Tim Holtz Funky Floral and Funky Foliage
Hi Everyone!
This is a mini tutorial (I know it’s a stretch to even call it that) to show you my process for making these super cool flowers and foliage by Tim Holtz. I wasn’t planning to do a tutorial so I only have a few pics this time. But please feel free to ask me any questions you have.
I love using manilla file folders for these type of dies because they have nice body and take the paints and stains well. I usually cut them into fourths first because it’s about the size for my cutting pads for my Big Shot.
I wanted a variety of colors and shades and textures so I used Tim Holtz Distress Spray Stains in the following combinations:
1- Mustard Seed and Wild Honey
2- Spiced Marmalade, Ripe Persimmon, and Picked Raspberry
3 - Peeled Paint, Crushed Olive, Mowed Lawn, Peacock Feathers, Pine Needle, Seedless Preserves and Aged Mahogany
I put the file folder piece in an empty box and spray from a distance of approximately 10” in some places and moving in closer in others so I would have different patterns and textures and depth of color.
The next time I do this I’ll create a short video so you can see how fun and easy this is. It provides a lot of color in a short time.
After they dried I just cut them out in my Big Shot and assembled in various combinations so I would have a bunch to use for some upcoming projects. Such a fun process!!
Even though this was super short, I hope you enjoyed it!
Thanks so much!
Laurie :)


