Vintage Halloween Banner
Original Post: October 2017
Disclaimer: In the name of full transparency, please be aware that this blog post contains affiliate links and any purchases made through such links will result in a small commission for me (at no extra cost for you).
TUTORIAL
This super cool banner has been so much fun to make and it's actually really easy too. I purchased this pattern from svgcuts.com - it's called "Midnight Jamboree," and I purchased the digital paper for the one below from Etsy stores HoneydesignStore and EmilyPetersonStudio .
But loving vintage Halloween decoration so much, I just had to play around with some ideas I had for making this one with a Victorian touch. So here goes......
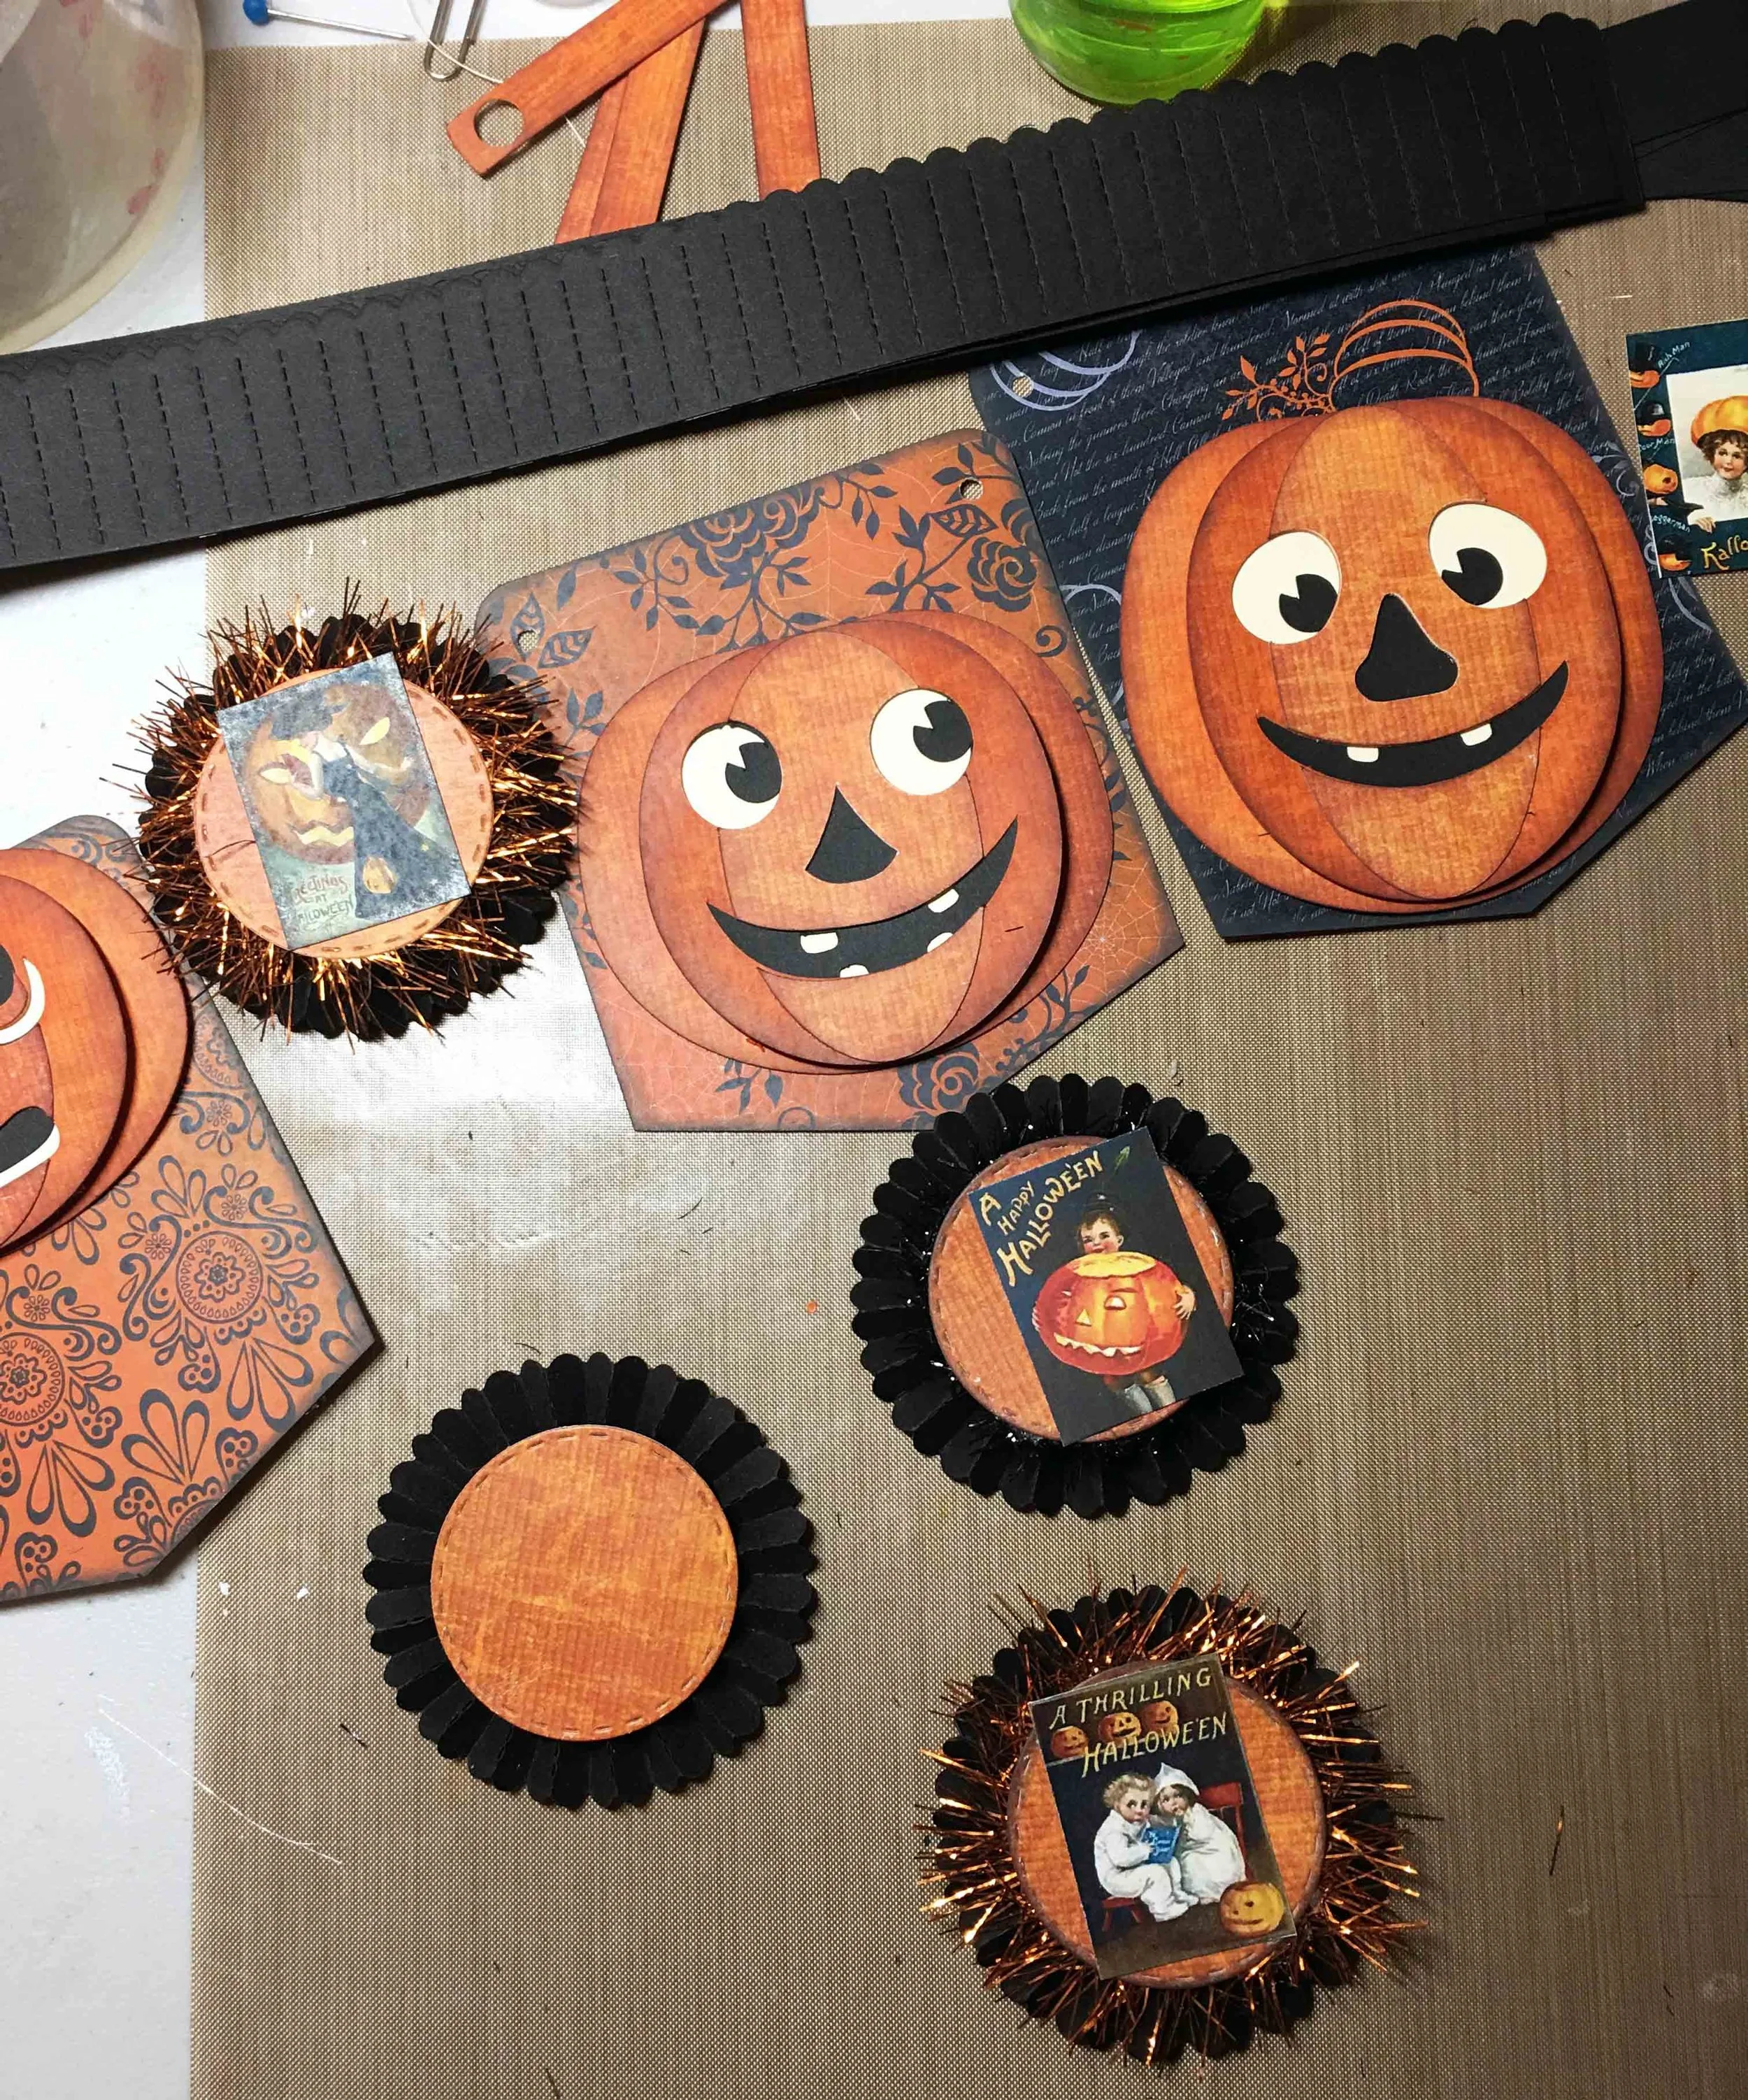
For the Jack O'Lanterns, I printed them out on digital paper I purchased more than 10 years ago and I'm sorry to say I have no idea who to credit for this, but it was the perfect pumpkin color. I inked all the edges of each piece with Tim Holtz Distress Ink in Rusty Hinge, to give them more definition and also to make each layer a different shade. Then I put all the Jack O'Lanterns together according to Mary's tutorial on svgcuts.com and used pop-dots between the layers for added depth.
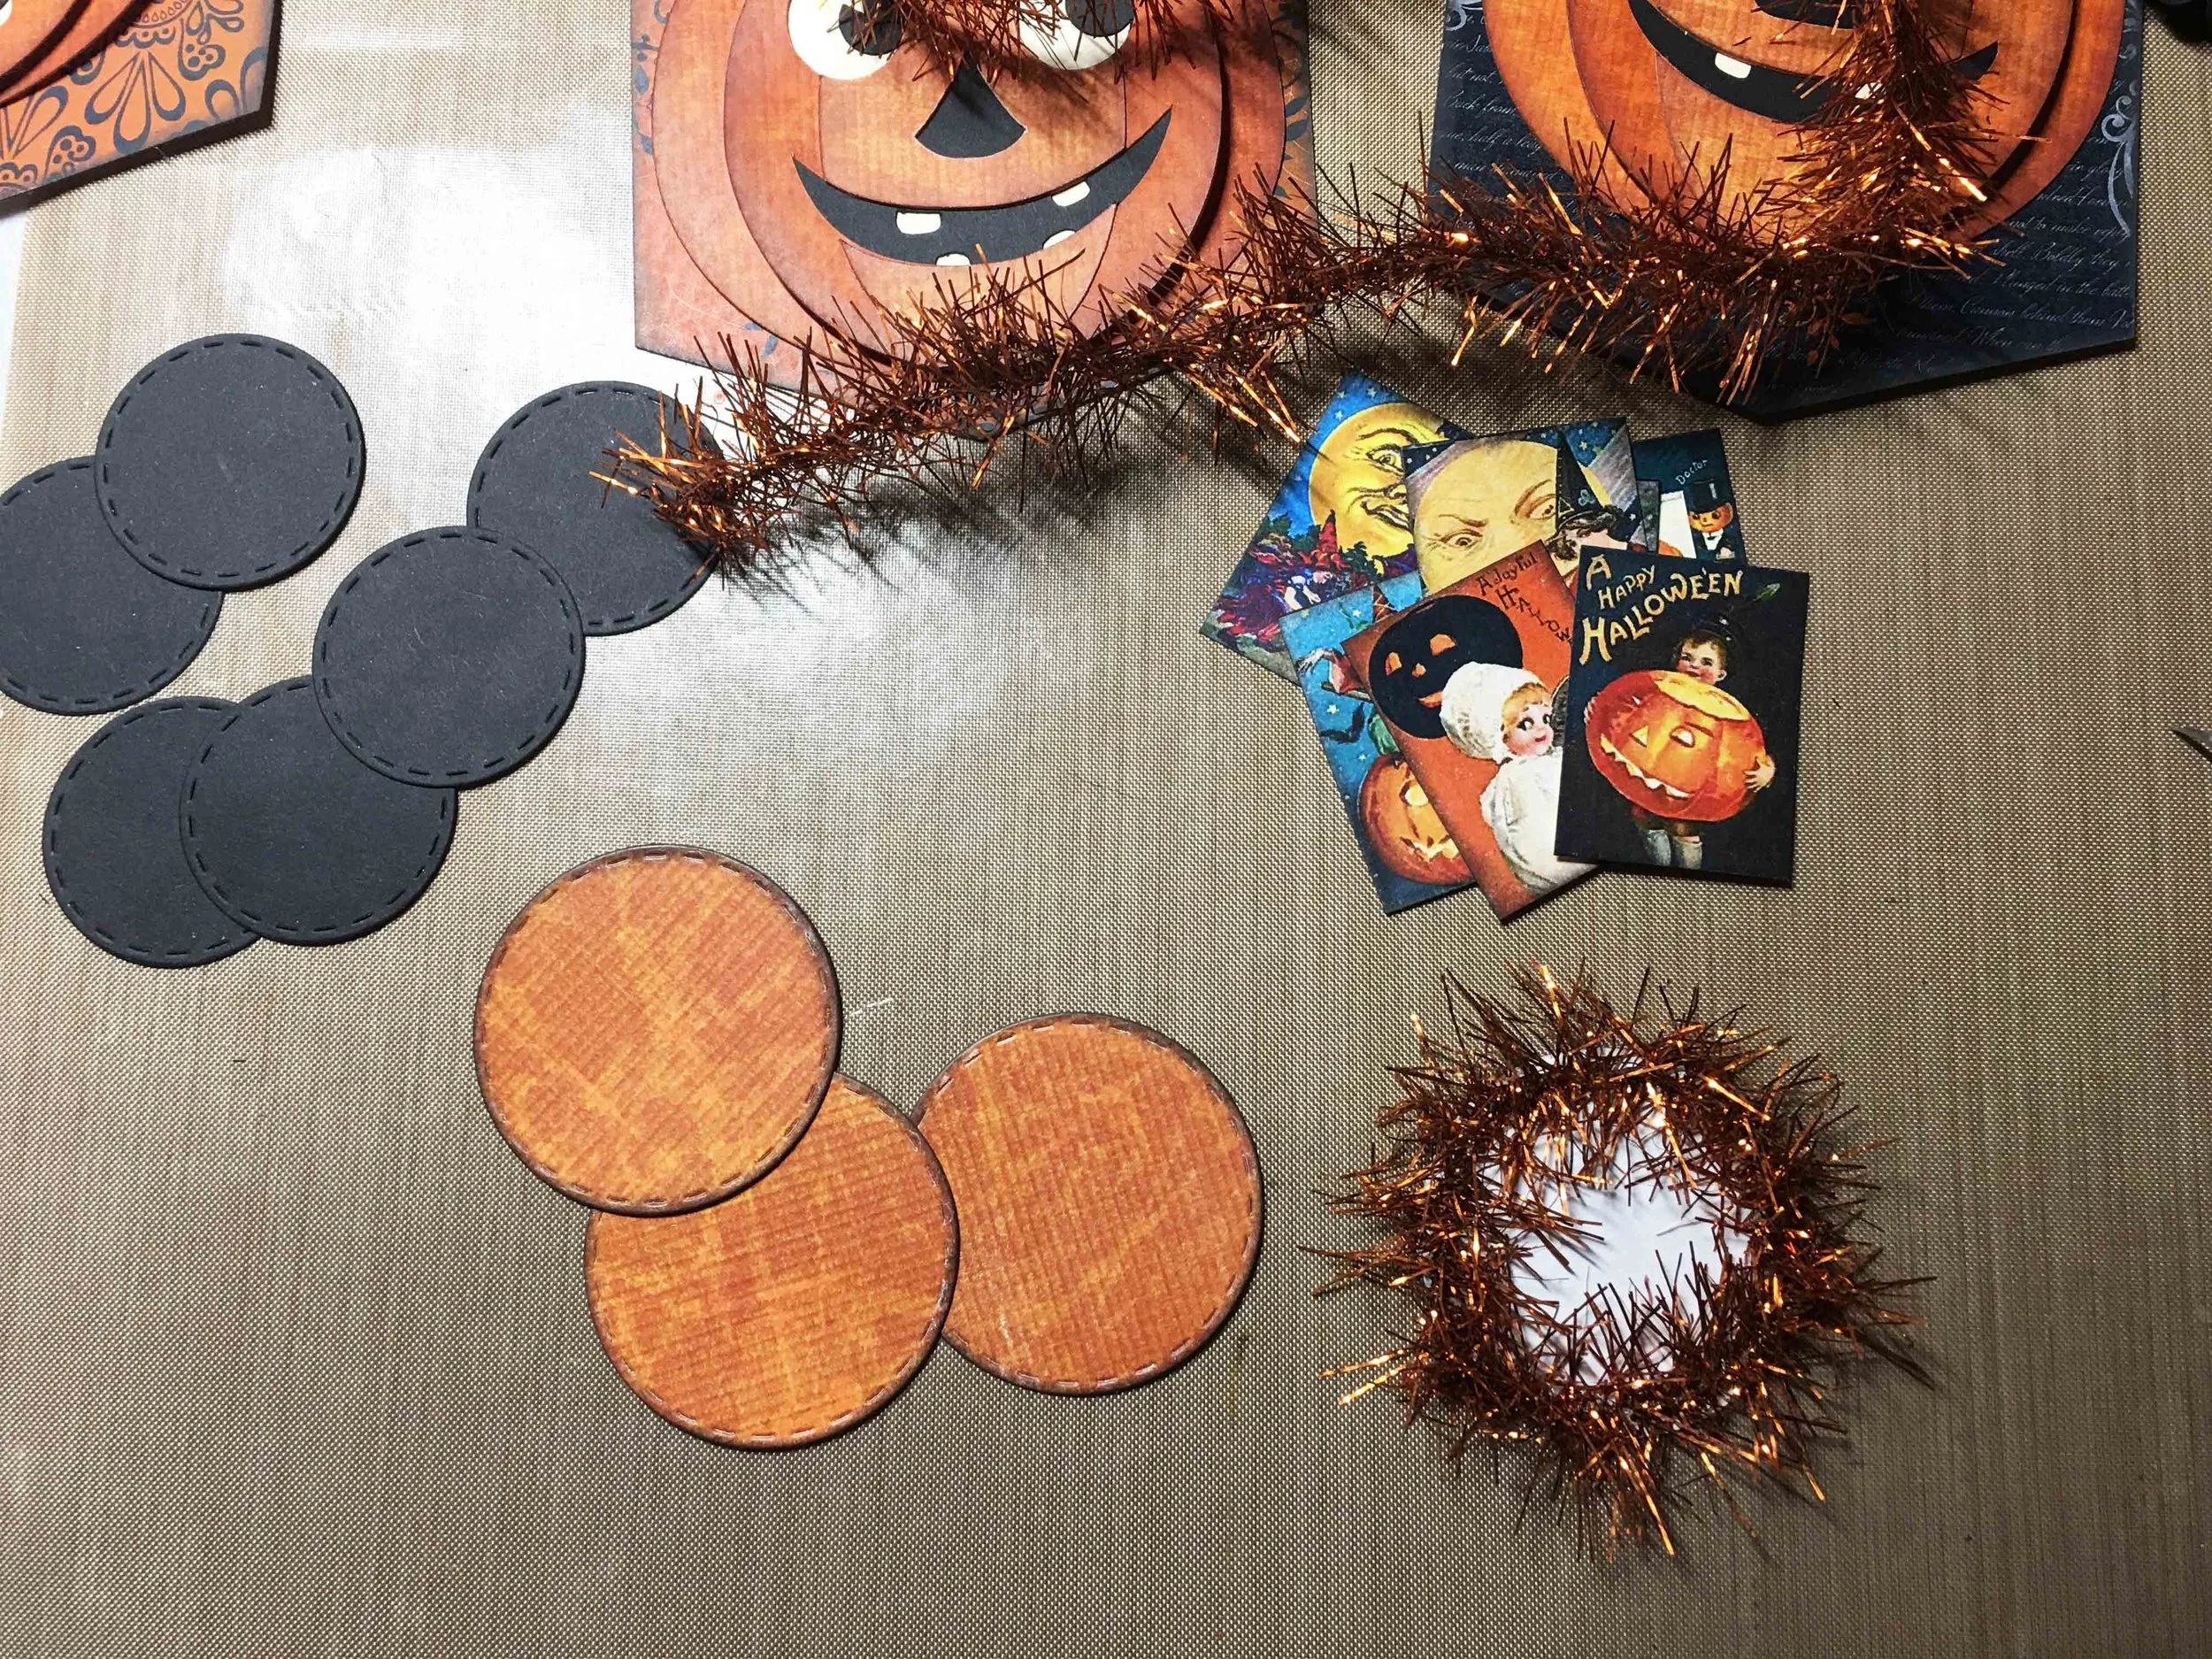
For the banner pages, I found the perfect paper on HoneydesignStore on Etsy, printed and cut them out. Next, I really love vintage rosettes and so I used my Tim Holtz rosette die and cut out several black rosettes. I played around with several layouts before I decided on orange tinsel. I love the way the black rosette shows through the orange tinsel!
Next, I wasn't sure how the mini vintage postcards would look but I ended up really liking it. I decided to ink the edges of the orange circle (which I cut out with my Taylored Expressions Stitched Circle Stacklets die set) with black ink just to add a little more contrast. I'm not sure that it really accomplished that, but I liked the effect so I went with it.
Next, I wanted to do something different with the bands that go across the top of the banner shapes. I found some ribbon I had from years past from Recollections that went really well with the tinsel so I glued that in between the layers of the bands and then glued the bands to the banner shapes.
Since I had added ribbon between the layers I used my Martha Stewart punch to add holes to the ribbon for stringing.
I was pretty happy with how it was starting to come together but I didn't like the holes showing up so much. It seemed like something was missing but I don't have much in the way of gems or bling so I decided to try making gems out of hot glue, knowing that some have had good luck with this. So I just made a bunch of 'gems' - trying to get them as much the same size as I could.....
And then I used my Adirondack Alcohol Ink to turn them orange...
Then, I just picked the two that were the closest to being the same size for each banner shape and voila! I think it made a big difference!
Anyway, I strung them with twine - would really like to improve this on the next one and use ribbon or something a little nicer, but all in all, I am pleased with the results!
I hope you enjoyed this tutorial. Please let me know if you have any questions :)


